Context Cards
A set of cards you can use as a visual guidance to deal with complex collaborations.
If you work on projects with multiple stakeholders you probably have experienced how complex collaboration on such projects can be. Different experts with various fields of expertise, with very different ideas, all of them involved in a project but no common vision yet... Does that sound familiar to you?
We also experience these issues sometimes and we've found a way to make this process smoother and more efficient.
We created a set of visual cards to deal with this complexity: our context cards. By providing graphic elements to support the communication, it's easier for all parties involved to share valuable insights and make more informed decisions.
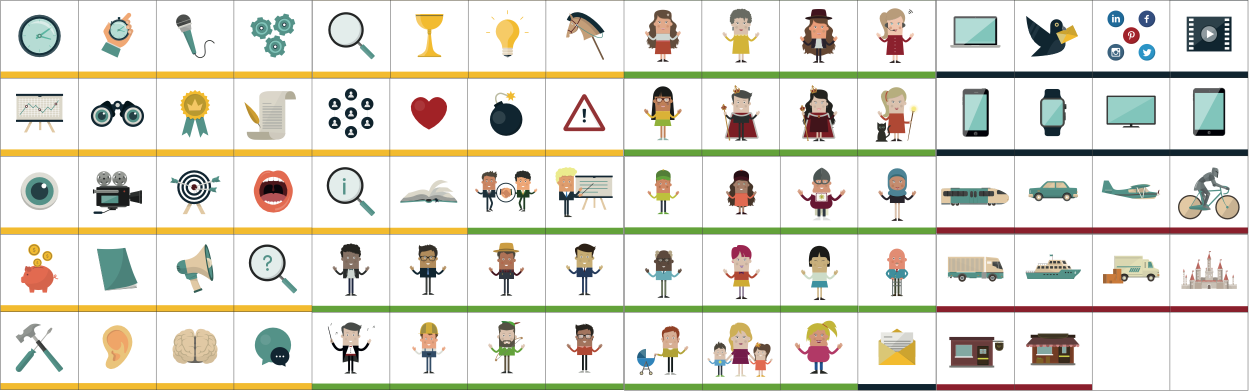
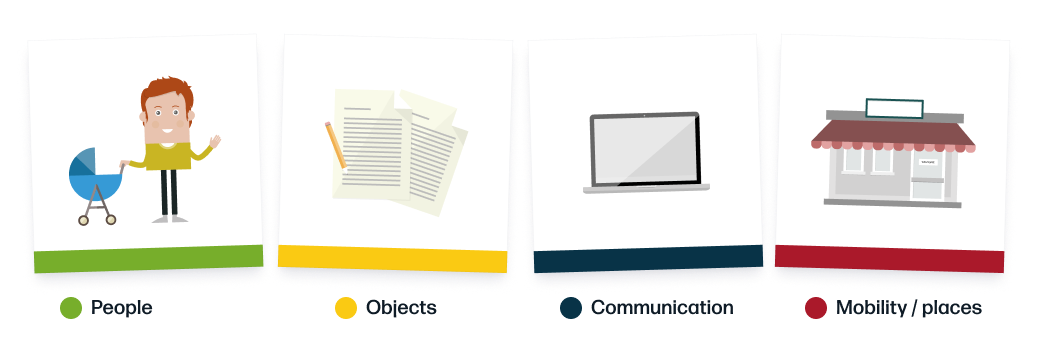
The set contains different categories (people, objects, mobility/places and communication) that help you establish a common language with your clients, users and stakeholders.
When to use the Context Cards?
The cards are very flexible and can be used with different goals in mind. How we use them varies from project to project:
- To understand complex ecosystems and visualise the context of a project or scenario.
- To define boundaries and set the focus of a project.
- To make better, faster and well-informed decisions that take into account all the elements of the system.
Some concrete cases:
- We mapped out the whole process of all stakeholders involved in the application of study allowances.
- We designed the ideal user journey of a digital service, offering sheet music with the Belgian start-up Neo Scores.
- We visualised the service blueprint of an online learning tool for the Flemish agency of employment, VDAB.
- We've also used them as a prototyping tool during workshops and hackathons (GovJam, Service Jam, Hack the Future, ...).
Carrousel
A few tips on how to use the context cards
There is no fixed way of using the context cards: you can adapt the methodology and the way you use them depending on your goal or desired outcome, how big the group you're working with is, how much time you have...
From our experience, we've noticed that we often approach the exercises in a similar way. These are the steps that we follow, and some tips that you can apply to make the process run smoothly:
1. Set the framework
The first thing you need to do is to define what the goal of this exercise is: what do you want to get out of it? This could be many different things, here's a couple of examples from our own experience:
- You want to get an overview of the stakeholders and team involved in a project and define who will be involved in which phases of the project.
- You want to understand the context of the product or service you are designing or researching, by mapping out all the users, your first line employees and your back office staff.
- You want to identify problems in the as-is situation of the service you are researching, and you use the cards to map out the user experience chronologically: which interactions do customers have with your service, who do they come in contact with, how they experience it...
As you can see, the possibilities are endless! Once you know what you want to learn with this exercise, you can create a template/framework to structure your cards. It will help to give some structure to your thoughts during the exercise, instead of placing the cards on a blank canvas.


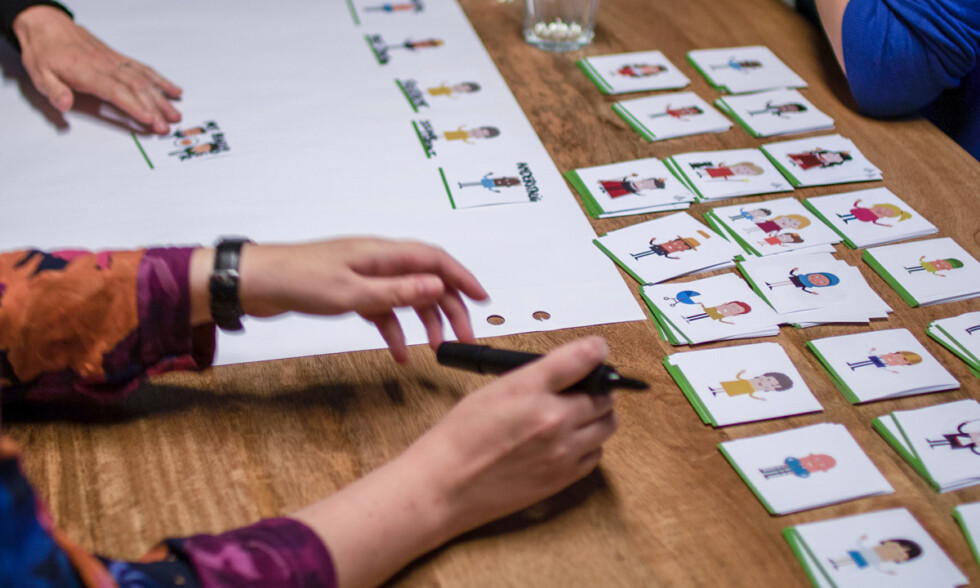
2. Gather individual input
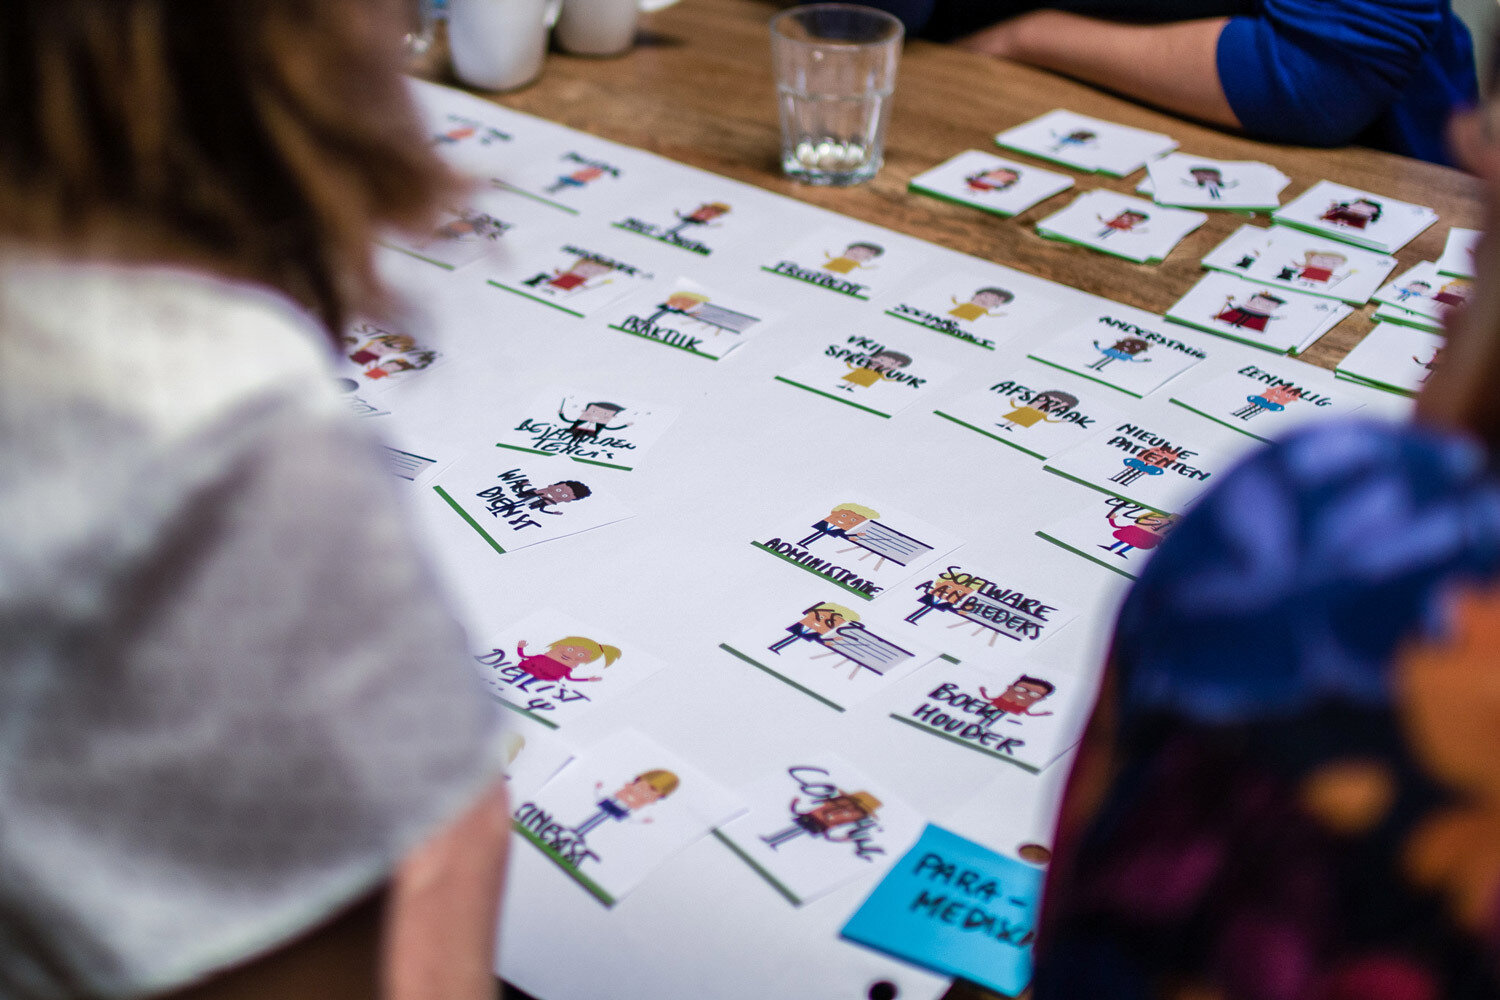
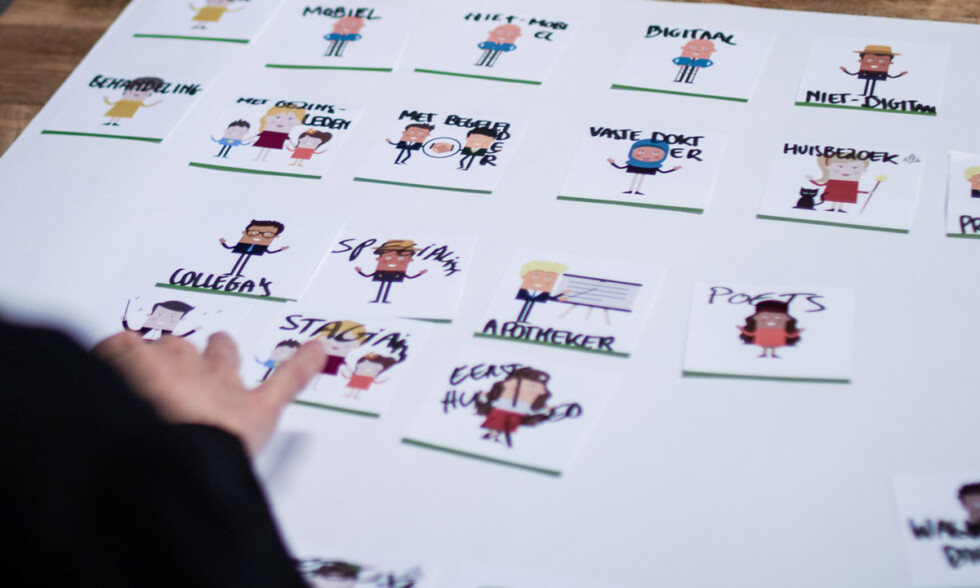
Let every participant pick their cards individually in the first few minutes. This gives everyone the opportunity to reflect on their cards and their knowledge before starting to put things together.
Tell the participants to write the meaning of each illustration on each card. The same card can have different meanings for different participants, so this will help creating a shared language within the group (and remembering your discussion later!).
In turns, let all the participants explain the cards they chose and place them on the template. It's okay if multiple people have the same concepts or the same cards, we'll deal with this in the next step.
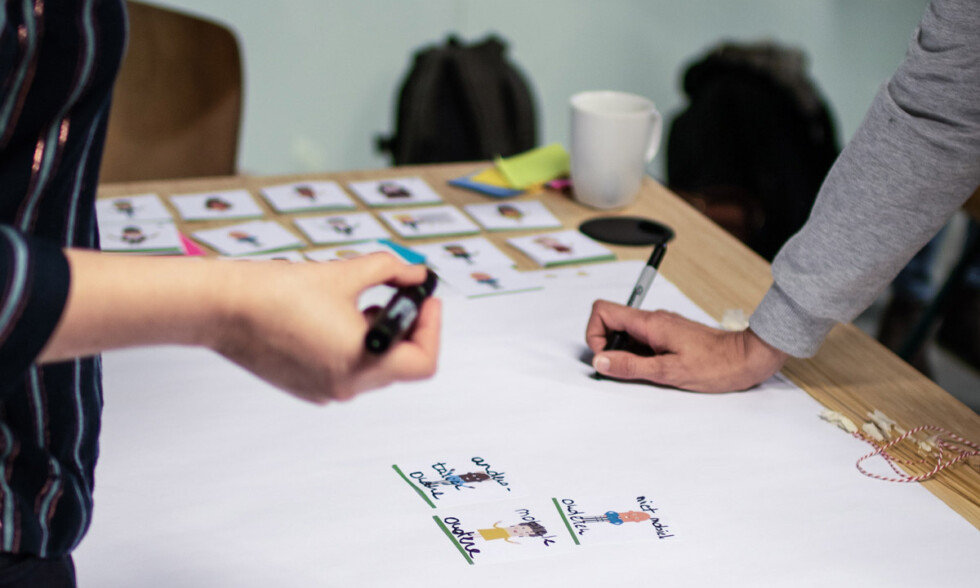
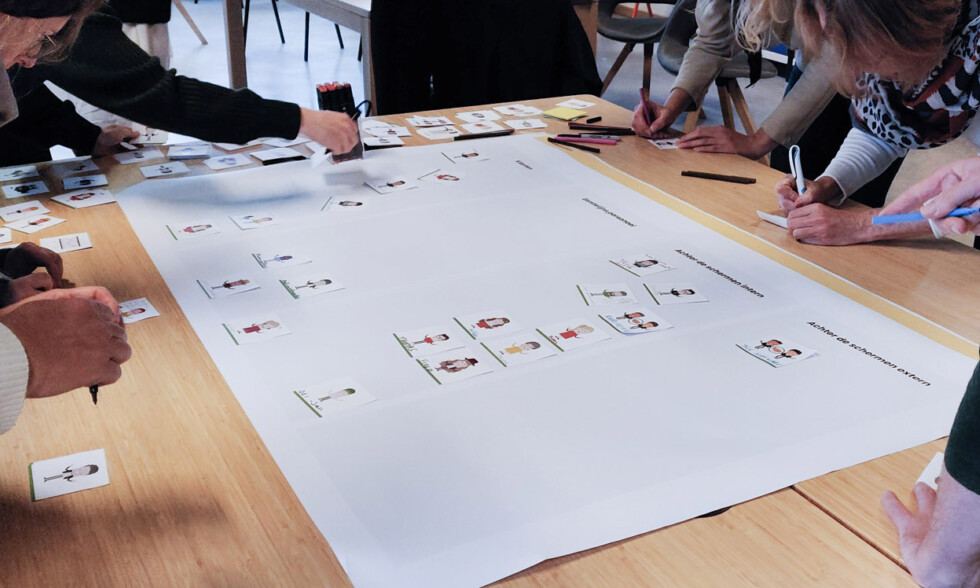
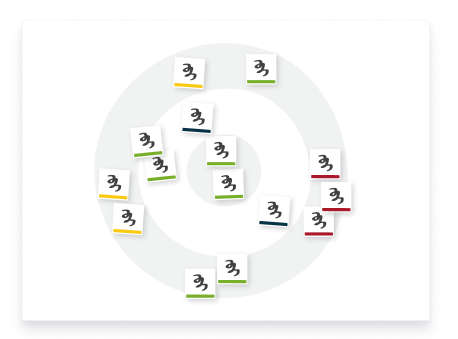
3. Cluster and organise
In this step, cluster all the cards that have the same meaning or represent the same concept, and re-organise the cards on the template in a way that best represents the structure of the project or the organisation. It's important that this is done as a group, since every participant is an expert in a different area and their input is needed to get the bigger picture right.
Don't be afraid to write on the template! Add connections between the stakeholders, interactions, flows, or create different subdivisions for the different stakeholders or groups of cards. Whatever fits your case.
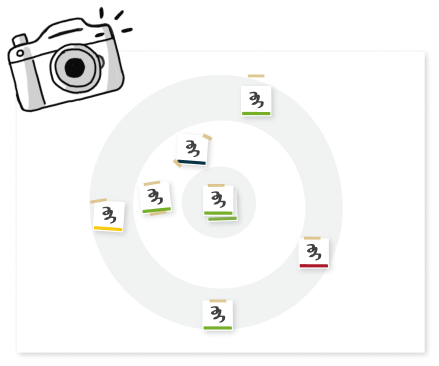
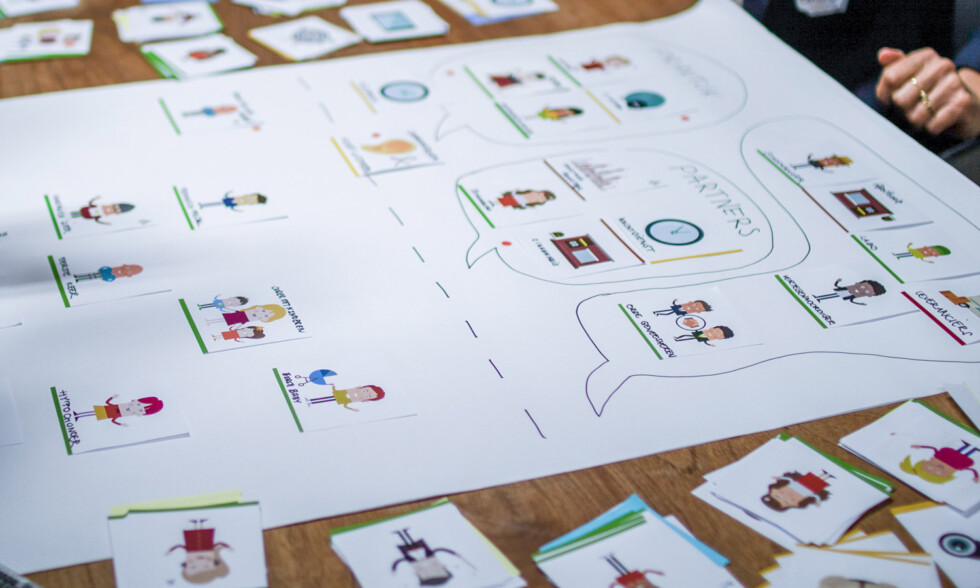
4. Document the results
Once you have finished the exercise, don't forget to take a picture of the result (and make sure it's readable!). It's also very useful to tape the cards to the template and to keep your template on hand in case you need to consult it or update it in later steps of the project.
And what to do after the exercise? You can process the results of the session into a presentation, draw some conclusions and next steps from it and share it with all stakeholders.
Download the Context Cards
Call To Action
If you're interested in testing out the Context Cards and using them in your own projects, you can download a printable version of the cards for free (we only ask you a couple of questions in return 🙃).